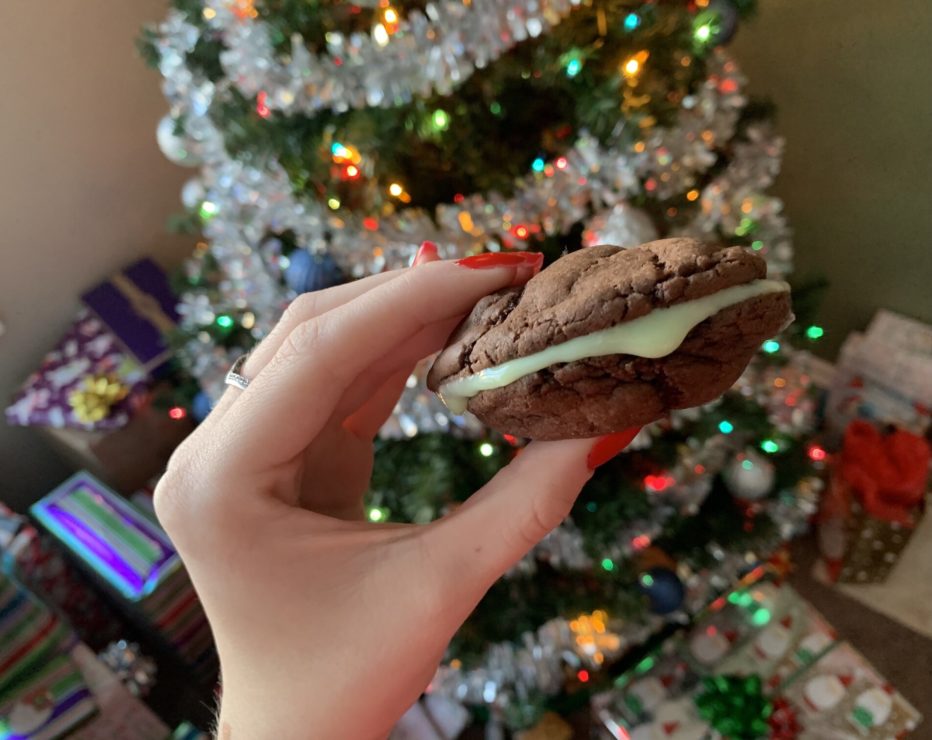
These delicious and simple homemade Oreo cookies are the perfect holiday treat

Whether you’re sharing with your household, leaving them on a friend’s doorstep, or eating them all yourself, these homemade Oreo cookies are sure to be a hit this holiday season.
People have strong opinions about which Oreo cookies are the best — whether they be mint, double-stuffed, golden, or original. For me, none of the store-bought options could ever compare to my mom’s homemade Oreos. Every year, we take out the battered card from my mom’s recipe box and make dozens of the cookies.
When I was a kid, making the homemade Oreo cookies was always a family affair. My mom would spread the icing, and I would select the perfect-sized cookies to squish together into an Oreo. I always secretly hoped there would be an uneven number of cookies so I would “have to” eat the extra one.
This year, I decided to change it up and make peppermint Oreos. I simply added peppermint extract and green food colouring to the filling. Feel free to experiment with different flavours and holiday toppings. Icing sugar, for example, will give your cookies a snow-dusted look. You could even substitute the chocolate cake mix for another flavour to make different kinds of cookies. The possibilities are endless!
This recipe makes about two dozen cookies and takes two hours to make.
1. Bake the chocolate cookies
You’ll need:
- 2 dark chocolate or devil’s food cake mixes
- 4 eggs
- ¾ cup canola or vegetable oil
Preheat the oven to 350℉. Combine the cake mixes, eggs, and oil. This can be a bit difficult to mix, so I typically end up using my hands. Roll the dough into small balls, about 1 tablespoon per cookie.
Place them on an ungreased cookie sheet, evenly spaced, and bake them for 8 to 10 minutes. After you remove them from the oven, carefully tap the cookie sheet on the counter until the cookies flatten slightly — this will give them more of an Oreo shape.
Allow the cookies to cool on the pan for a few minutes before transferring them to wax paper or a cooling rack. If they look slightly underdone, that’s okay. They will continue baking as they cool and should harden into perfect cookies, ready to be iced.
2. Make the cream cheese filling
You’ll need:
- 8 ounces cream cheese
- 2 cups icing sugar
- ¼ teaspoon vanilla extract
- ¾ teaspoon peppermint extract (optional)
Start by softening the cream cheese in the microwave, then combine with icing sugar. Mix everything together until it is nice and smooth.
Once you’ve got the basic filling made, you can start to get creative. For my version, I added vanilla and peppermint extract. Feel free to use any other flavouring you want to try (banana Oreos, anyone?), and add food colouring if desired.
The filling will need at least 20 minutes to chill so that it becomes thick and easy to spread on your cookies. Simply place it in your fridge or, if you’re impatient like me, put it in the freezer.
My mom typically opts for the natural freezer and places the frosting outside. When you live in Alberta, everything is a freezer.
3. Assemble your holiday Oreos
Now that the cookies are baked and the filling is complete, it’s time for my favourite part — putting it all together into an Oreo.
Before assembling, make sure the cookies are cooled completely. Spread the filling between two cookies to make the Oreos.
I would suggest storing these in the fridge or freezer, as the filling can get quite runny at room temperature.
While the holidays might not be the same this year, I hope these delicious cookies bring some cheer to you and anyone you share them with.


